Migrating or cloning a VPS from one provider to another can be challenging and time-consuming. Although it can be a great opportunity to verify that your backup restoration process works, sometimes it’s not worth the effort.
In this tutorial, we’ll use snapshots and recovery mode to migrate a VPS between providers. Specifically, we’ll clone a DigitalOcean VPS onto Vultr and LunaNode, and I’ll provide tips for adapting the process to migrations from Vultr or from LunaNode. That said, these steps will work as long as both providers use full virtualization, the source provider offers a recovery mode or allows you to boot to an ISO, and the destination provider supports uploading custom images.
Overview
The overall process will look like this: we’ll snapshot a DigitalOcean VPS, create a new VPS from the snapshot, and boot the new VPS to the Recovery ISO. From Recovery ISO, we’ll copy the disk contents to a raw or qcow2 image stored on a block storage device, and install a webserver. Finally, we’ll tell Vultr and LunaNode to download the image.
Before we get started, just a few tips for adapting this process for migrating from other providers. If you’re migrating from Vultr, instead of “Recovery ISO”, use the Ubuntu 16.04 Custom ISO, and select the Rescue Broken System option after the VPS boots to the ISO.
If you’re migrating from LunaNode, you’re in luck, because they make the process really easy! Just snapshot your VPS, download the snapshot from their control panel, and upload it to the new provider.
Lastly, if your provider supports a recovery ISO but not snapshots, you can skip the snapshot step and start by booting to the ISO, it just means that the process will require downtime on the source VPS.
1. Boot to Recovery ISO
First, we’ll snapshot the DigitalOcean VPS, create a new server from the snapshot, attach some block storage, and boot to the Recovery ISO.
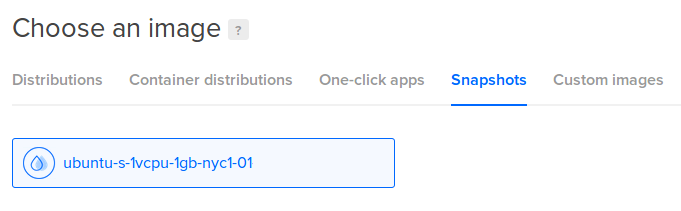
To take a snapshot, select your VPS, head to Snapshots, and follow the instructions (to ensure data consistency, shutoff your VPS before taking the snapshot):

Once the snapshot completes, deploy a new VPS from the snapshot.
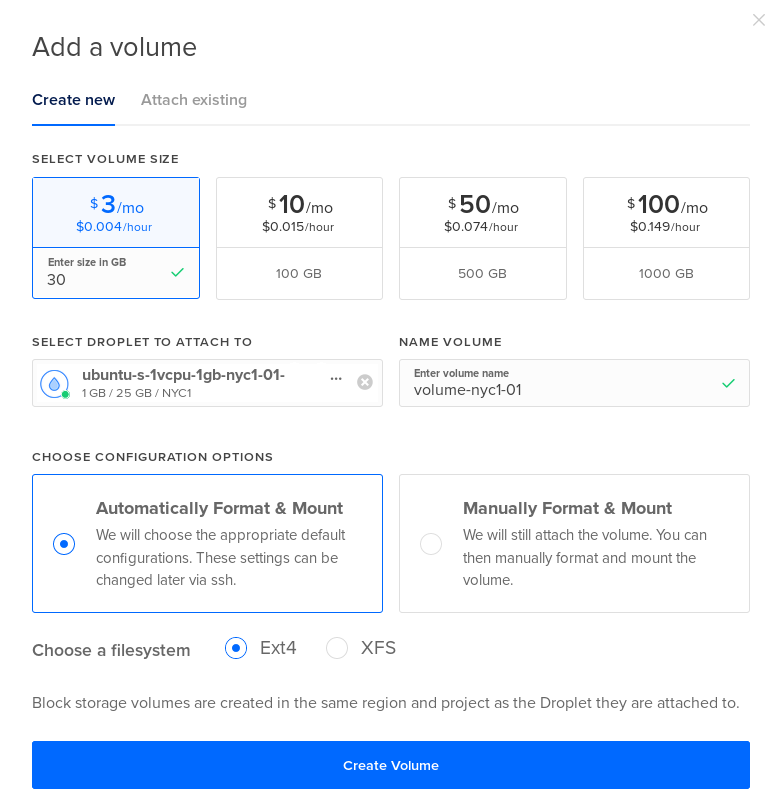
Now, let’s attach a block storage device, where we’ll store the raw image so that it can be downloaded by the new provider. Go to Volumes, and create a new volume that’s slightly larger than your VPS disk (attach it to the new VPS you created):
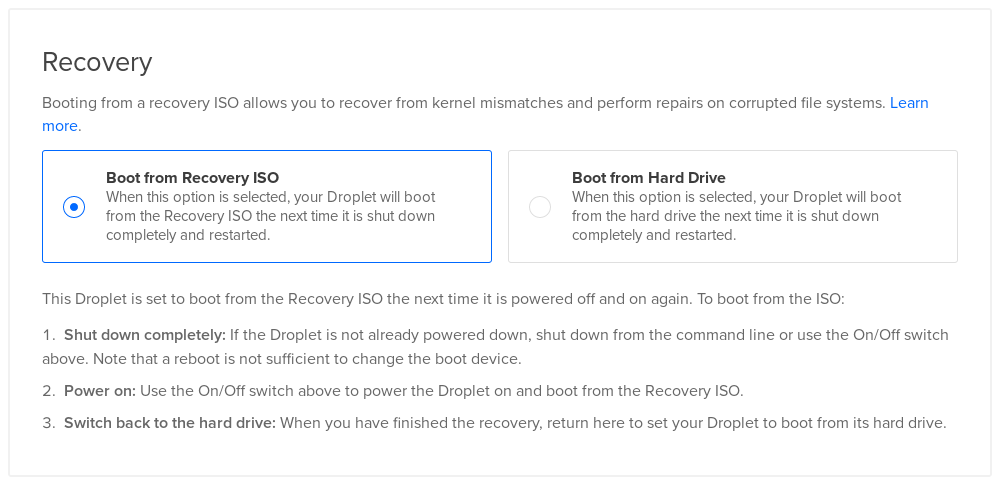
Finally, select the new VPS again, head to Recovery, and select Boot from Recovery ISO. Shutoff your VPS and boot it back up from the panel.
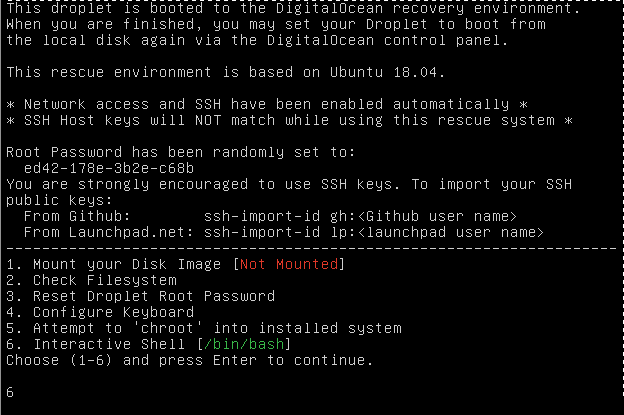
Open up the VPS console, and type 6 and press enter to start an interactive shell in the recovery ISO.
2. Extract a raw or qcow2 image
Now, we’ll use the recovery ISO to copy our disk into an image file on the block storage volume.
In the recovery shell, let’s first run fdisk -l to verify the disk paths:
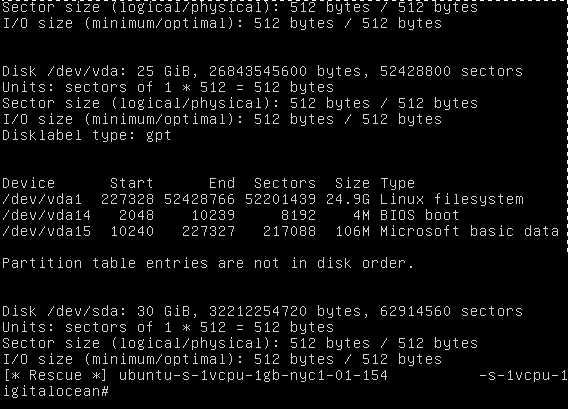
So we have two disks:
/dev/vdacontains our root disk, which we want to copy to the new provider./dev/sdais the block storage device that we’re using as a temporary storage location.
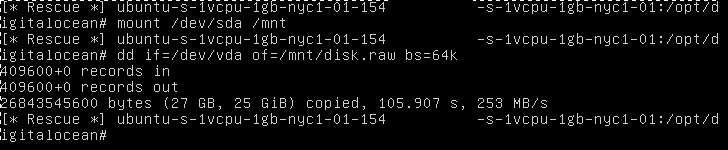
Mount the block storage device:
mount /dev/sda /mntNow, you need to decide if you want to extract a raw image or a qcow2 image. Vultr only supports adding custom raw images, and LunaNode only supports adding custom qcow2 images.
To extract a raw image (e.g. for Vultr):
dd if=/dev/vda of=/mnt/disk.raw bs=64kTo extract a qcow2 image (e.g. or LunaNode):
qemu-img convert -O qcow2 /dev/vda /mnt/disk.qcow2This process will take some time to complete, because we are copying the entire VPS disk to the block storage device. When it’s done, your console should look like this:
3. Upload the Image to Vultr or LunaNode
Next, we’ll set up a webserver on the recovery ISO so that the new provider can grab the image.
Install nginx, and change the web root to /mnt:
apt install -y nginx
sed -i 's/\/var\/www\/html/\/mnt/' /etc/nginx/sites-enabled/default
service nginx restartWARNING: this will expose your disk publicly. For security, you may want to rename the /mnt/disk.raw disk file to a random filename. For additional security, consider setting up SSL on the webserver so that the disk transfer is not unencrypted.
Once nginx is online, you should be able to download the image by opening your web browser and opening http://[your new droplet IP]/disk.raw (or disk.qcow2). Verify that the URL works:
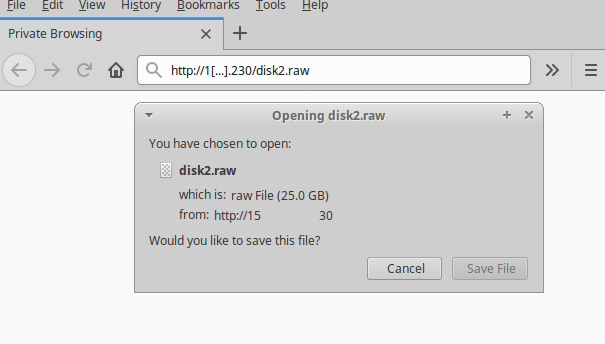
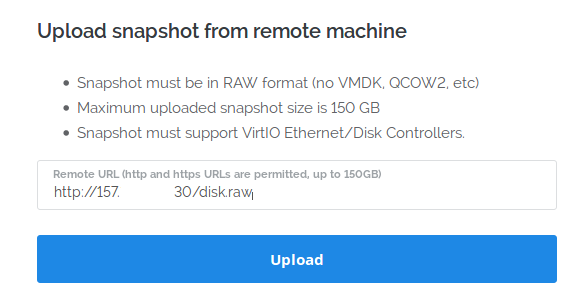
You don’t need to actually download the file though, since Vultr and LunaNode only allow you to add a custom image by providing a URL. Let’s go ahead and add the image.
On Vultr, go to Servers, then head to the Snapshots tab, press Add Snapshot, and enter the URL (e.g. http://1.2.3.4/disk.raw):
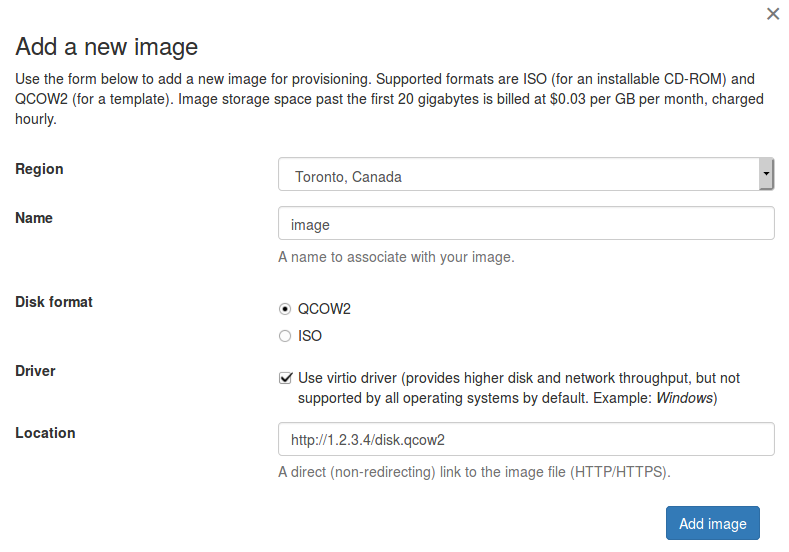
On LunaNode, go to Images and press Add a new image. Select a region, enter a name, set disk format to qcow2 and driver to virtio, and enter the URL (e.g. http://1.2.3.4/disk.qcow2):
Deploy the New VPS!
At last, let’s deploy the new VPS — create a new VPS from the snapshot!
If you’re on LunaNode, you should be all set! Unfortunately, on Vultr I found that some tweaking is needed when migrating an Ubuntu VPS before the VPS will boot. Mine got stuck:

To fix this, we need to remove the console=ttyS0 kernel parameter. This only applies if you were running Ubuntu on DigitalOcean and ran into the same boot stuck bug — if you encounter other issues, then other solutions may be needed.
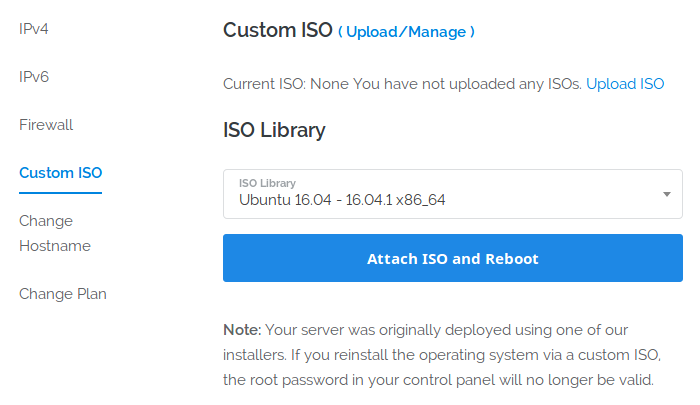
Let’s boot to an Ubuntu 16.04 ISO: select the VPS, go to Settings, then Custom ISO, and select Ubuntu 16.04:
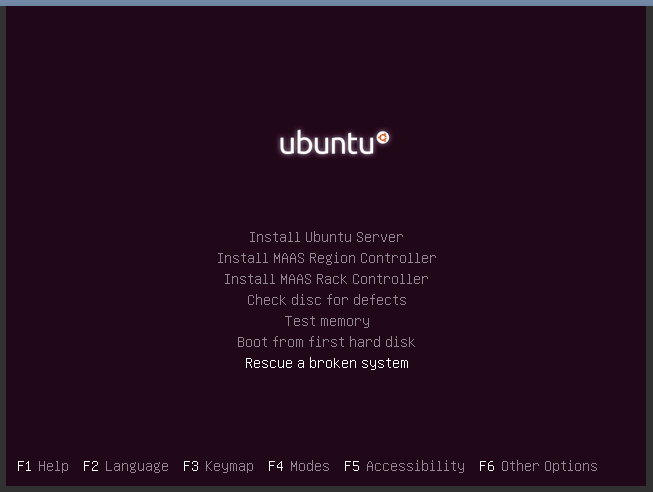
After the VPS reboots, open the console, select English language, and select the Rescue a broken system option:
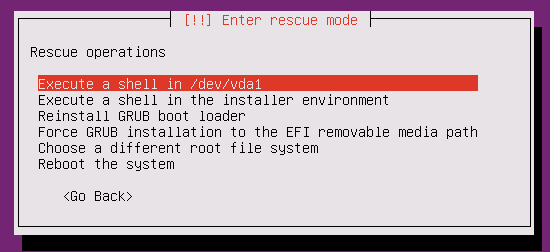
You’ll be prompted for a bunch of different options. Basically, enter the default for everything, including keyboard, hostname, time zone, and root filesystem (/dev/vda1). The final prompt will ask you what rescue operation to perform; select the first option (execute a shell in /dev/vda1):
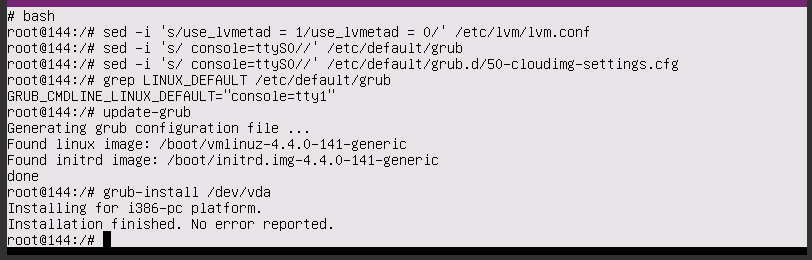
First, run bash to get a nicer shell. Next, run these commands (again, this is assuming you migrated an Ubuntu VPS to Vultr):
bash
sed -i 's/use_lvmetad = 1/use_lvmetad = 0/' /etc/lvm/lvm.conf
sed -i 's/ console=ttyS0//' /etc/default/grub
sed -i 's/ console=ttyS0//' /etc/default/grub.d/50-cloudimg-settings.cfg
grep LINUX_DEFAULT /etc/default/grub
update-grub
grub-install /dev/vda
The grep command is to verify that our change to /etc/default/grub was applied successfully. Your console should look like this:
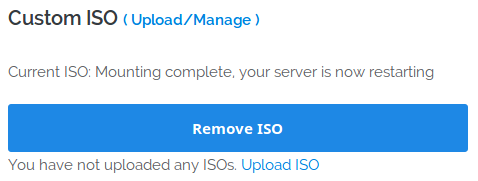
Now, exit out of the rescue shell, select the reboot option, and remove the custom ISO:
At this point, your VPS should boot! You may have to make a few other configuration changes to get networking online.
Conclusion
Snapshots are a great way to quickly migrate a VPS. Unfortunately, a few providers like DigitalOcean and Vultr do not allow you to download snapshots, making their snapshots useless for cloning a VPS onto a different provider.
However, we can nevertheless use Recovery or Custom ISO features to extract the disk state of a VPS as a raw or qcow2 image, and send that image over to the other provider. The process isn’t completely painless, but still relatively straightforward, and pretty quick once you get the hang of it.